Flashing software
Time: 15 minutes
It's time to do something with a monitor. The Pi should have an operating system, namely Ubuntu Server LTS. To get Ubuntu onto the SSD, we use the program Raspberry Pi Imager. We use the same software to set up the Pi with Raspberry Pi OS.
Raspberry Pi OS
We start by flashing Raspberry Pi OS to the microSD. Open the Raspberry Pi Imager and select the following two things:
- Raspberry Pi Device: Raspberry Pi 4
- Operating System: Raspberry Pi OS Lite (64-bit). You can find it under "Raspberry Pi OS (other)".
- Storage: microSD.
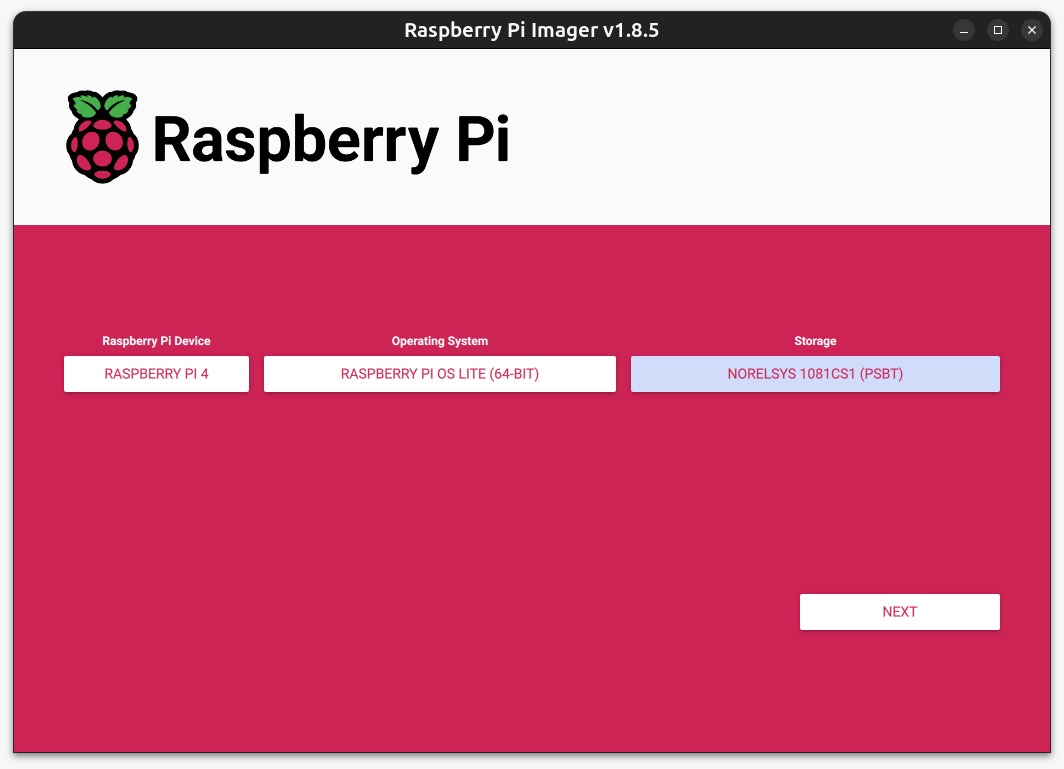
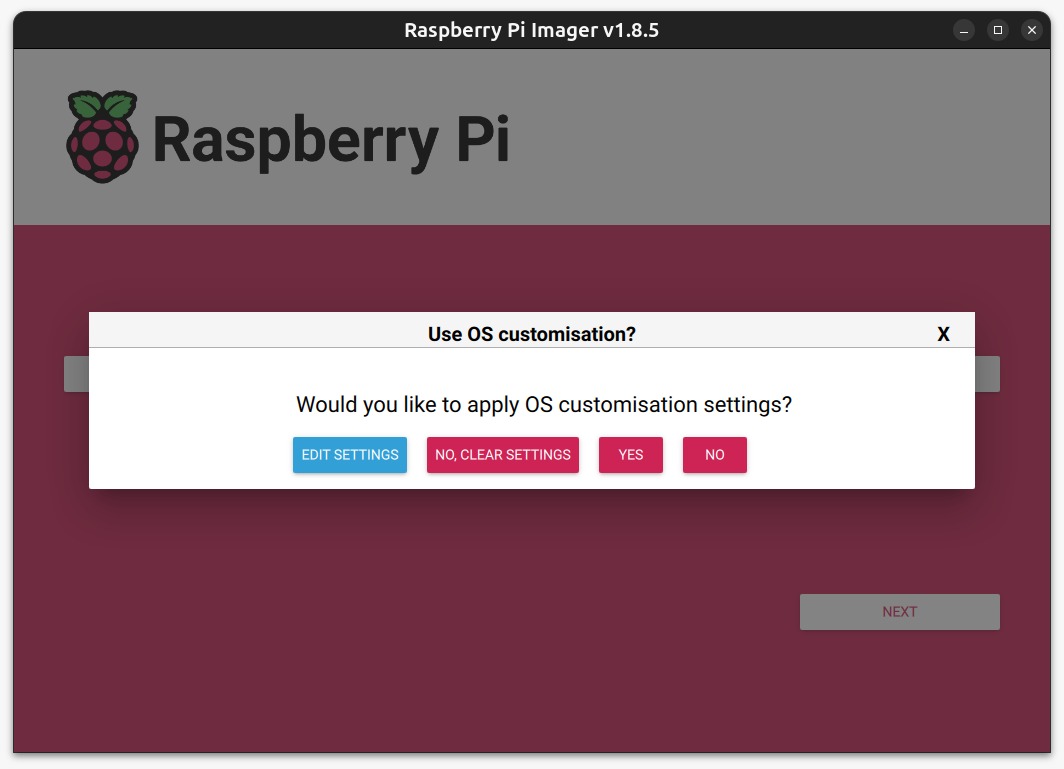
When you click on "NEXT", it'll ask if you'd like to customize settings. Click on "EDIT SETTINGS".
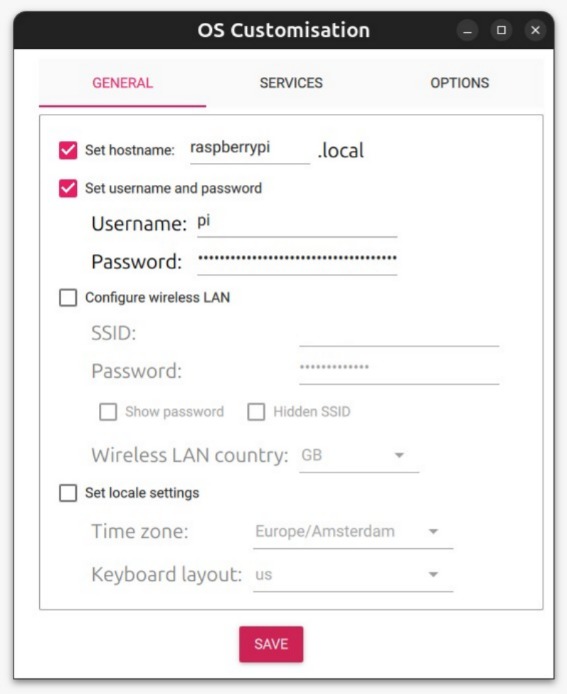
In the settings, you can set the username, password, and SSH settings. Set the username to pi and the password to raspberry.
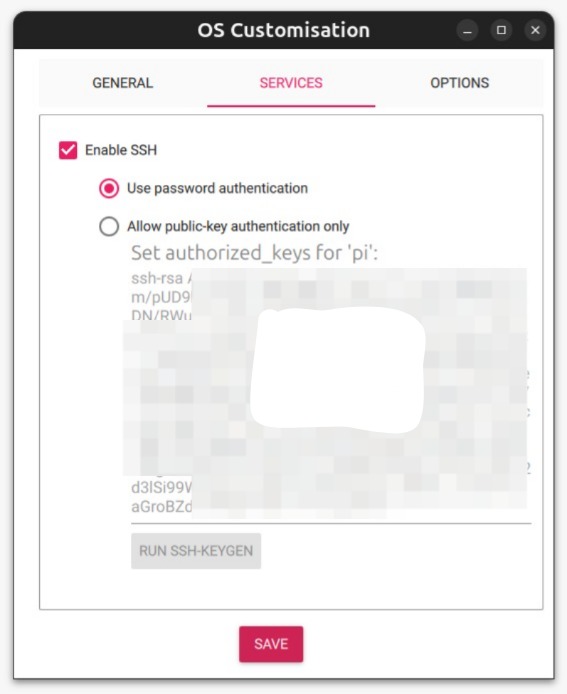
Switch over to the "SERVICES" tab and enable SSH.
Click on "SAVE" and then write the image to the microSD card. Once it is done, the microSD will be ejected. You can insert it into the Pi.
SSD
Connect to SSD to your computer. Open the Raspberry Pi Imager and select the following two things:
- Raspberry Pi Device: Raspberry Pi 4
- Operating System: Ubuntu Server 24.04.1 LTS (64-bit). You can find it under "Other general-purpose OS" and then "Ubuntu". Don't install 24.10, as this is not an LTS (Long Term Support) version.
- Storage: SSD.
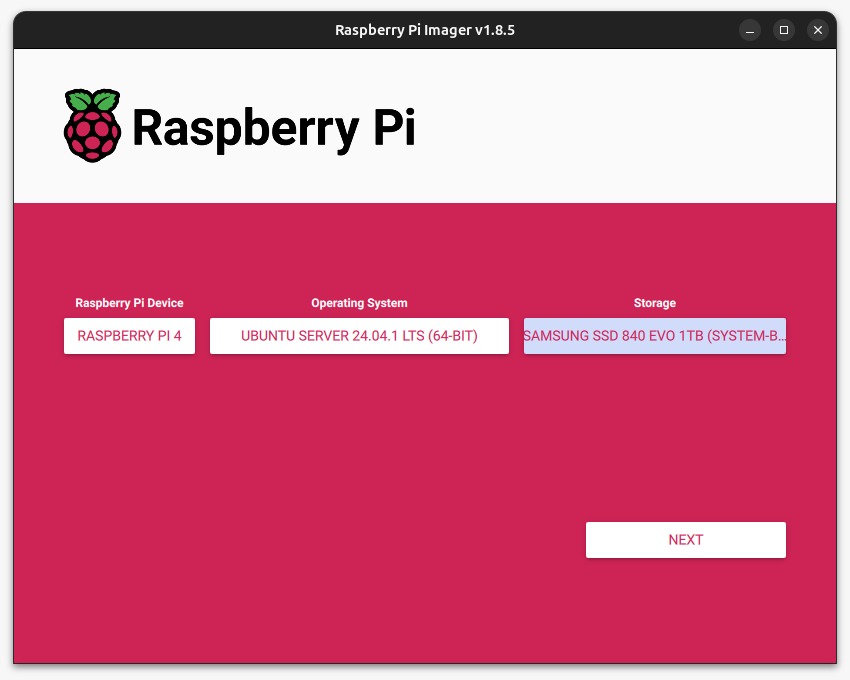
When you click on "NEXT", it'll ask if you'd like to customize settings. Click on "EDIT SETTINGS".
Use the same settings as for Raspberry Pi OS, but set the username to ubuntu and the password to ubuntu.
Click on "SAVE" and then write the image to the SSD. Once it is done, the SSD will be ejected.